How to Clean and Maintain Your UV Flashlight: A Complete Guide
Posted by Raymond on 3rd Jun 2025
How to Clean and Maintain Your UV Flashlight?
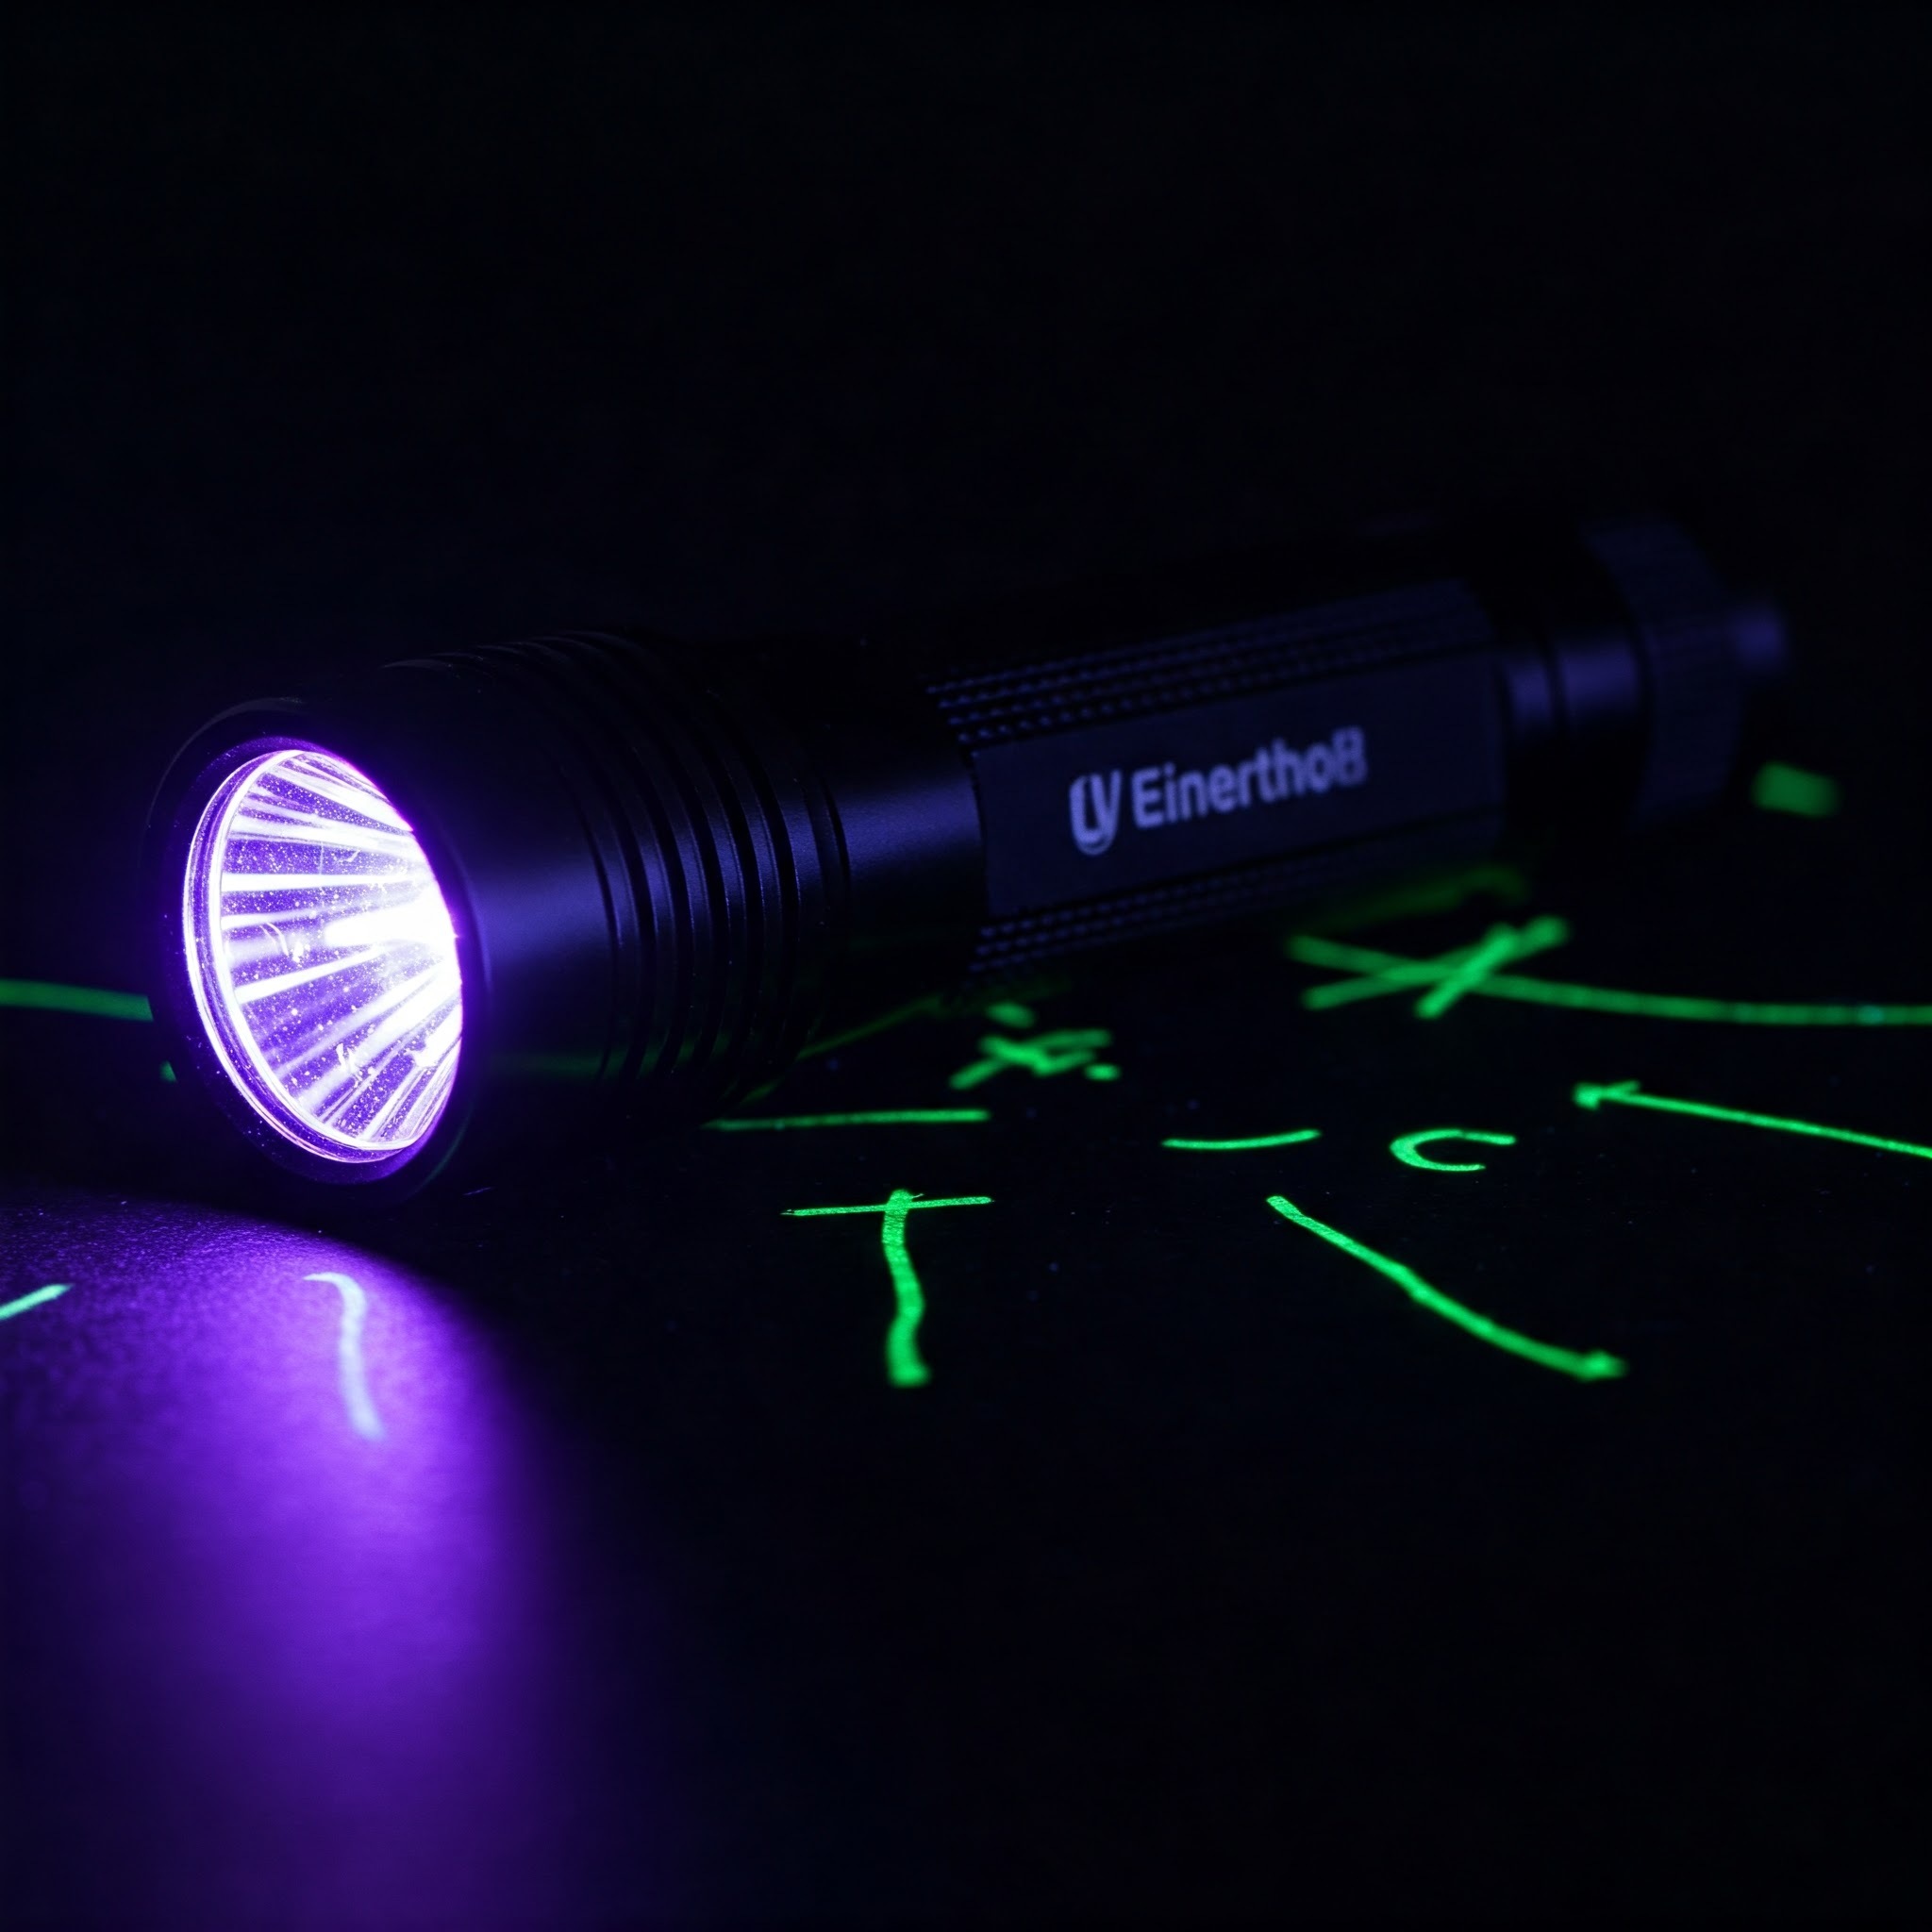
UV flashlights are precision tools used in everything from leak detection to forensics. But like any tool, they require proper care to function optimally. Dirt, moisture, or battery residue can degrade their performance or shorten their lifespan.
In this guide, you'll learn how to clean and maintain your UV flashlight to ensure it continues emitting strong, reliable ultraviolet light.
Why Maintenance Matters for UV Flashlights
UV flashlights operate using sensitive diodes and lenses that can degrade when contaminated. Poor maintenance can result in:
-
Diminished UV output
-
Reduced battery life
-
Lens fog or beam distortion
-
Corrosion due to battery leakage
Routine cleaning and proper storage can help your flashlight perform like new—even after years of use.
Tools and Supplies You’ll Need
| Tool/Supply | Purpose |
|---|---|
| Microfiber cloth | Wiping down exterior and lens |
| Cotton swabs | Cleaning tight or recessed areas |
| Isopropyl alcohol (70%+) | Safe disinfection and residue removal |
| Silicone grease | Lubricating O-rings and waterproof seals |
| Lens cleaning solution | Removing smudges and oils from the lens |
| Small brush or toothbrush | Scrubbing threads and battery contacts |
Step-by-Step: How to Clean Your UV Flashlight
1. Disassemble the Flashlight
Remove the batteries. If it has multiple parts (tail cap, lens head), gently unscrew them.
2. Clean the Exterior and Lens
Use a microfiber cloth with a small amount of lens cleaner. Avoid paper towels—they may scratch coated lenses.
3. Check and Clean the Battery Compartment
-
Inspect for any corrosion or residue.
-
Wipe clean with a cotton swab dipped in isopropyl alcohol.
-
For corrosion, use a brush dipped in vinegar, followed by alcohol.
4. Lubricate Threads and O-Rings
Apply a small amount of silicone-based grease to maintain waterproof seals and smooth screwing action.
5. Inspect the LED and Circuit Contacts
Use a dry swab to remove dust near the LED. Do not press hard on the emitter.
6. Reassemble and Test
Once dry, reinsert the battery (check polarity), assemble, and test beam strength.
Maintenance Frequency Chart
| Usage Frequency | Cleaning Interval | Notes |
|---|---|---|
| Daily/Professional | Weekly | Especially important in dusty or wet environments |
| Occasional (monthly) | Every 2–3 months | Wipe down before and after use |
| Storage only | Every 6 months | Check battery integrity to prevent corrosion |
Common Mistakes to Avoid
-
Using Water on Electronics: Always use alcohol or dry cleaning methods.
-
Overtightening Parts: Can damage O-rings or threads.
-
Leaving Batteries Installed: Can cause leakage during long-term storage.
-
Skipping Lens Cleaning: A smudged lens weakens UV intensity.
Choosing Quality UV Flashlights = Easier Maintenance
Brands like TANK007 are known for using durable materials, IP-rated sealing, and corrosion-resistant coatings—making them easier to maintain over time.
Compare UV flashlight durability and maintenance features:
| Brand/Model | Waterproof Rating | Removable Parts | Anti-Corrosion | Maintenance Ease |
|---|---|---|---|---|
| TANK007 UV610 | IPX6 | Yes | Yes | ★★★★★ |
| Generic Budget | IPX4 | Limited | No | ★★☆☆☆ |
| Convoy S2+ | IPX6 | Yes | Partial | ★★★★☆ |
Conclusion
Proper cleaning and maintenance not only preserve the performance of your UV flashlight but also ensure your investment lasts for years. From wiping lenses to checking battery compartments, these simple steps can make all the difference.
If you're using a UV flashlight for professional applications like crime scene investigations or leak detection, regular upkeep is non-negotiable.